
TLDR: Connecting a project management tool to Xero is mostly a mapping exercise, not a technical one. A proper integration pushes timesheets, costs and draft invoices into Xero, and pulls payment status back out so your WIP stays accurate. Before you connect anything, get your chart of accounts, tax rates, tracking categories and client names in order; then authorise the app, map jobs to tracking categories and invoices to revenue codes, and test on a small batch before going live.
- Prepare Xero first: clean chart of accounts, tax rates, tracking categories, tidy contacts.
- Connect and authorise: usually through the Xero App Store or the tool’s own Xero settings.
- Map carefully: clients to contacts, jobs to tracking categories, invoice lines to revenue accounts.
- Test before go-live: run a small batch or parallel month and check drafts in Xero.
- Avoid the classic mistakes: duplicate contacts, unmapped tax rates, edits made in Xero after export.
Most practices don’t connect their project system to Xero because they expect it to be a developer’s job. It isn’t. The hard part is deciding what maps to what, and that’s a question about your business, not about code. This guide walks through the whole process, from prerequisites to the reconciliation mistakes that make your timesheets, invoices and Xero disagree.
What a Proper Integration Actually Syncs
Before you start, it helps to know what a good integration moves in each direction. The usual roundups of Xero integrations and add-ons, like Chargebee’s overview, list the categories of apps that plug in. Here we’re focused on the project management side specifically, because that’s where fee-based practices live or die. If your current setup only sends invoices one way, you’re getting a fraction of the value.
From the project tool into Xero:
- Draft invoices, built from fees, time and disbursements, often against a stage or milestone.
- Timesheets and time entries, usually so hourly work and write-offs are visible.
- Project costs and expenses, so supplier bills and job purchases can hit the right project.
- Contacts, when the tool creates or updates a client record.
From Xero back into the project tool:
- Invoice status: sent, paid, part-paid, overdue.
- Payment dates and amounts.
- Sometimes contact updates.
That return trip is the piece practices most often miss, and it matters. If your project tool never learns that an invoice was paid, your WIP and debtor views in the project system drift from reality. If you’re thinking about WIP properly, see our explainer on WIP accounting for architects. The same logic applies to any fee-based practice.
Before You Connect Anything: Get Xero Ready
Most failed Xero app integrations aren’t the app’s fault. They’re setup problems in Xero that surface the moment real data starts flowing. Work through this list first.
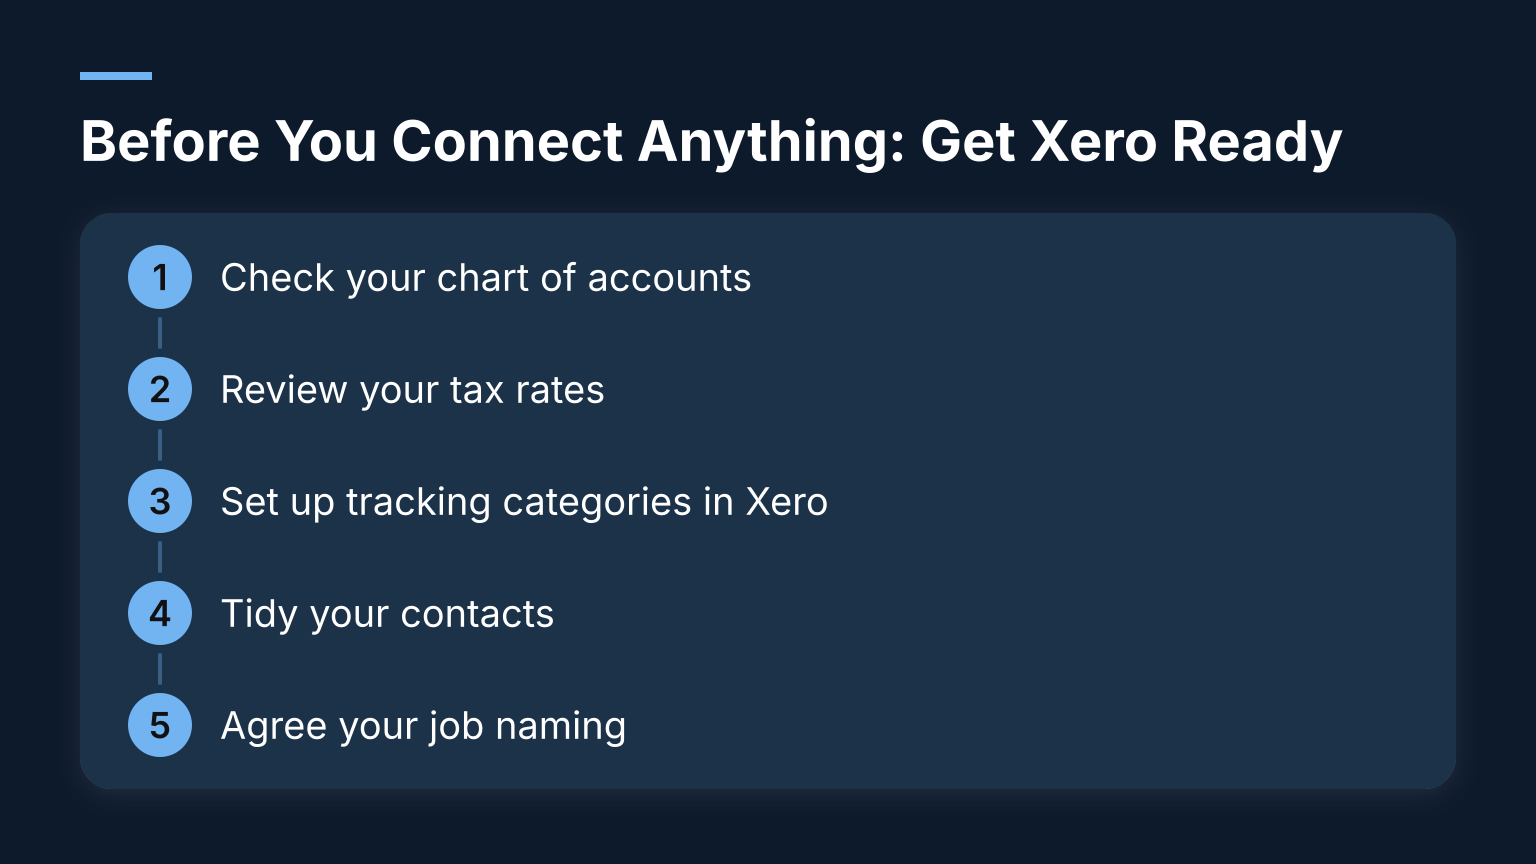
- Check your chart of accounts. You need revenue accounts that reflect how you bill, for example separate codes for professional fees, disbursements and expenses. If everything currently lands on one ‘Sales’ line, your project reporting will be blunt.
- Review your tax rates. Every invoice line needs a tax type Xero recognises. If your PM tool lets staff pick tax types that don’t exist in Xero, invoices will fail or post wrong.
- Set up tracking categories in Xero. Tracking categories are how Xero labels transactions so you can report by job, client, office or service line. Xero gives you two active tracking categories, each holding up to 100 options, so decide what you’ll track by before you connect. You set them up under Accounting, then Advanced, then Tracking Categories; Deputy’s integration guide spells out the same limits and path.
- Tidy your contacts. Merge duplicates. ‘Smith & Co Architects’, ‘Smith and Co’ and ‘Smith & Co’ are three contacts to Xero, and duplicate contacts are the single most common cause of confusing reports after an integration.
- Agree your job naming. Whatever the project tool calls a job, that name is what will carry through to Xero. Fix inconsistencies now, not after a hundred invoices have posted.
If you want the broader picture of what else can plug into Xero, our overview of Xero integrations covers the main categories, from approvals to reporting apps.
How to Connect: Step by Step
The exact screens vary by tool, but the flow is remarkably consistent. Whether you connect through the Xero App Store or through the project tool’s own settings, the mechanics are the same.
Step 1: Find the integration. Check the Xero App Store or your project tool’s integration settings for a native Xero connection. A native integration is almost always better than a workaround if one exists.
Step 2: Authorise the connection. You’ll be redirected to Xero to sign in, asked to choose which Xero organisation to connect, and shown a consent screen listing what the app wants to access. Read the permissions. If you run more than one Xero organisation, this is the moment people connect the wrong one, so double-check the organisation name before you allow access.
Step 3: Run the first sync. Once authorised, the app pulls its initial data, typically contacts, accounts, tax rates and tracking categories from Xero. This can take a few minutes. Don’t map anything until this initial pull has finished, or you’ll be mapping against a half-loaded list.
Step 4: Check the connection on both sides. In Xero, the connected app appears in your connected apps list. In the project tool, the Xero card should show the connected organisation’s name. If either side shows an error, fix it now rather than at first invoice.
Mapping: The Step That Decides Everything
This is where you tell the integration what means what. Get it right and the numbers agree. Get it wrong and you spend months unpicking invoices. Use this table as a worksheet before you connect.
| Project tool object | Xero record | Notes |
|---|---|---|
| Client | Contact | Match to existing contacts, never create new ones where a match exists |
| Job or project | Tracking category option | Keep option names consistent with your job codes |
| Invoice | Draft sales invoice | Lines coded to your revenue accounts |
| Fee or disbursement type | Revenue GL code | One account per billing type you report on |
| Tax rate | Tax type in Xero | Only allow tax types that exist in Xero |
| Currency | Xero currency settings | Set the invoice currency explicitly if you bill outside the UK |
A few practical points from setting these connections up for professional services firms:
- Map jobs to tracking categories rather than to separate GL codes wherever possible. Tracking keeps your chart of accounts short and still lets you run profit and loss by job using Xero’s tracking reports.
- If your practice bills by stage, for example against the RIBA Plan of Work, make sure the invoice lines the tool generates carry the stage, either through the tracking option or the description, so stage-based reporting survives the trip into Xero.
- If the tool asks how invoices should be created, usually one invoice per job, per contact or per milestone, choose the pattern that matches how your clients actually pay you. Changing it later means broken debtor reporting.
- If you have hourly staff, confirm how timesheet data reaches the invoice: some tools push time straight into draft invoice lines, others export timesheets separately for payroll and job costing. Hour Cap’s Xero integration docs show a typical timesheet-export setup. Choose one route and don’t double-handle the same time entry.
For help choosing which project tool fits your practice in the first place, our guide to Xero project management apps covers what to look for, including how well each option integrates with Xero.
Native Integration, Middleware, or a Custom API Build
There are three routes to integrate with Xero, and the honest answer is that each has a place.
Native integration. The project tool has a built-in, Xero-approved connection, usually listed on the App Store. You authorise it, map your settings and the vendor maintains the plumbing. Vendors document what their own connections cover; Apptivo’s Xero integration page is one example of how a native connection is presented. This is the right choice whenever it exists and covers what you need. The tradeoff is that you’re limited to what the vendor built; if their invoice sync doesn’t handle your billing model, you can’t change it.
Middleware, such as Zapier-style automation. Middleware connects apps that have no native link, or automates small gaps, such as ‘when a job closes in the PM tool, create a Xero contact’. Guides on linking Xero with other tools for finance, like this one on relevant-software’s approach, make it sound simple, and for small record-to-record jobs it is. It’s quick to set up and cheap to test. The tradeoffs are real, though: middleware typically moves simple record-to-record events, not structured documents like multi-line invoices with tax and tracking. Complex accounting logic through middleware tends to break quietly. Use it for notifications and simple record syncing, not for invoices.
Custom API build. Xero’s API lets you build exactly what you need, and a developer handles the OAuth authorisation flow, the organisation connection and the sync logic. This makes sense when you have unusual billing models or need data in both directions that no product supports. The tradeoffs are cost, ongoing maintenance and the fact that you now own the failure modes. For most five to fifty person practices, a custom build is overkill until you’ve outgrown native options.
One way to sanity-check your choice: count how many of the mappings in the table above your route can handle. If middleware can’t carry tax types and tracking categories on invoice lines, it can’t make your numbers agree, no matter how well the rest of it works.
What Syncs One-Way, and Why It Matters
Not everything should flow both ways, and knowing the direction of each data type prevents most post-go-live confusion.
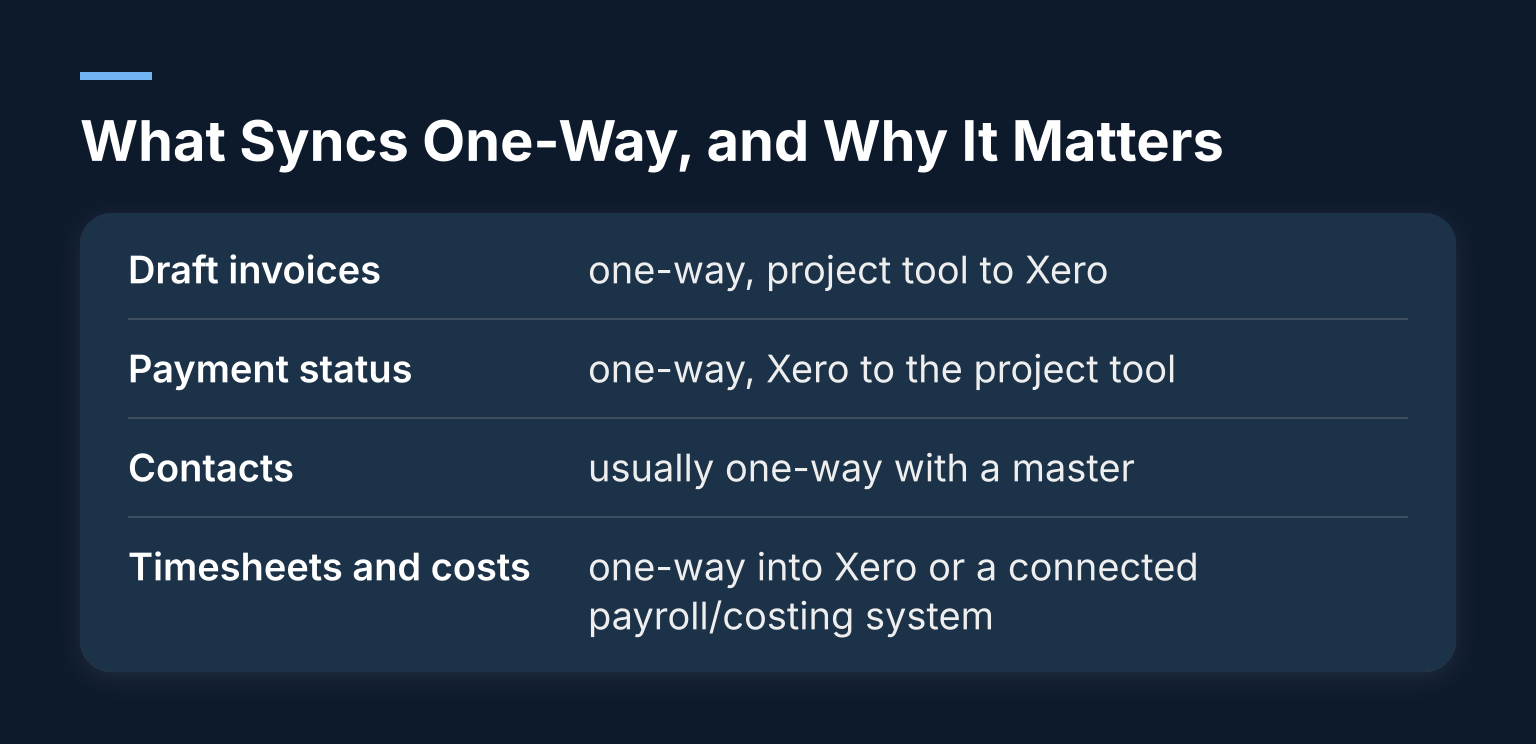
- Draft invoices: one-way, project tool to Xero. The project tool builds them; Xero approves and sends them. Don’t rebuild the same invoice manually in Xero, or you’ll have two versions of the truth.
- Payment status: one-way, Xero to the project tool. Xero is the ledger of record for money. When a payment clears, the project tool should mark the invoice paid, so your WIP and project profitability stay accurate.
- Contacts: usually one-way with a master. Pick one master. If the project tool owns clients and Xero owns suppliers, configure the sync accordingly and stick to it.
- Timesheets and costs: one-way into Xero or a connected payroll/costing system. The project tool is the source; Xero records the financial consequence.
The WIP point is worth repeating. If payment status never flows back, your project tool shows unpaid invoices forever, your reported WIP inflates, and nobody trusts either system. If you’re chasing late payments specifically, a tool like Chaser for Xero sits on the Xero side and complements, rather than replaces, your project integration.
Reconciliation Mistakes That Break the Numbers
These are the failures we see most often when the integration itself is working fine but the numbers still don’t agree.
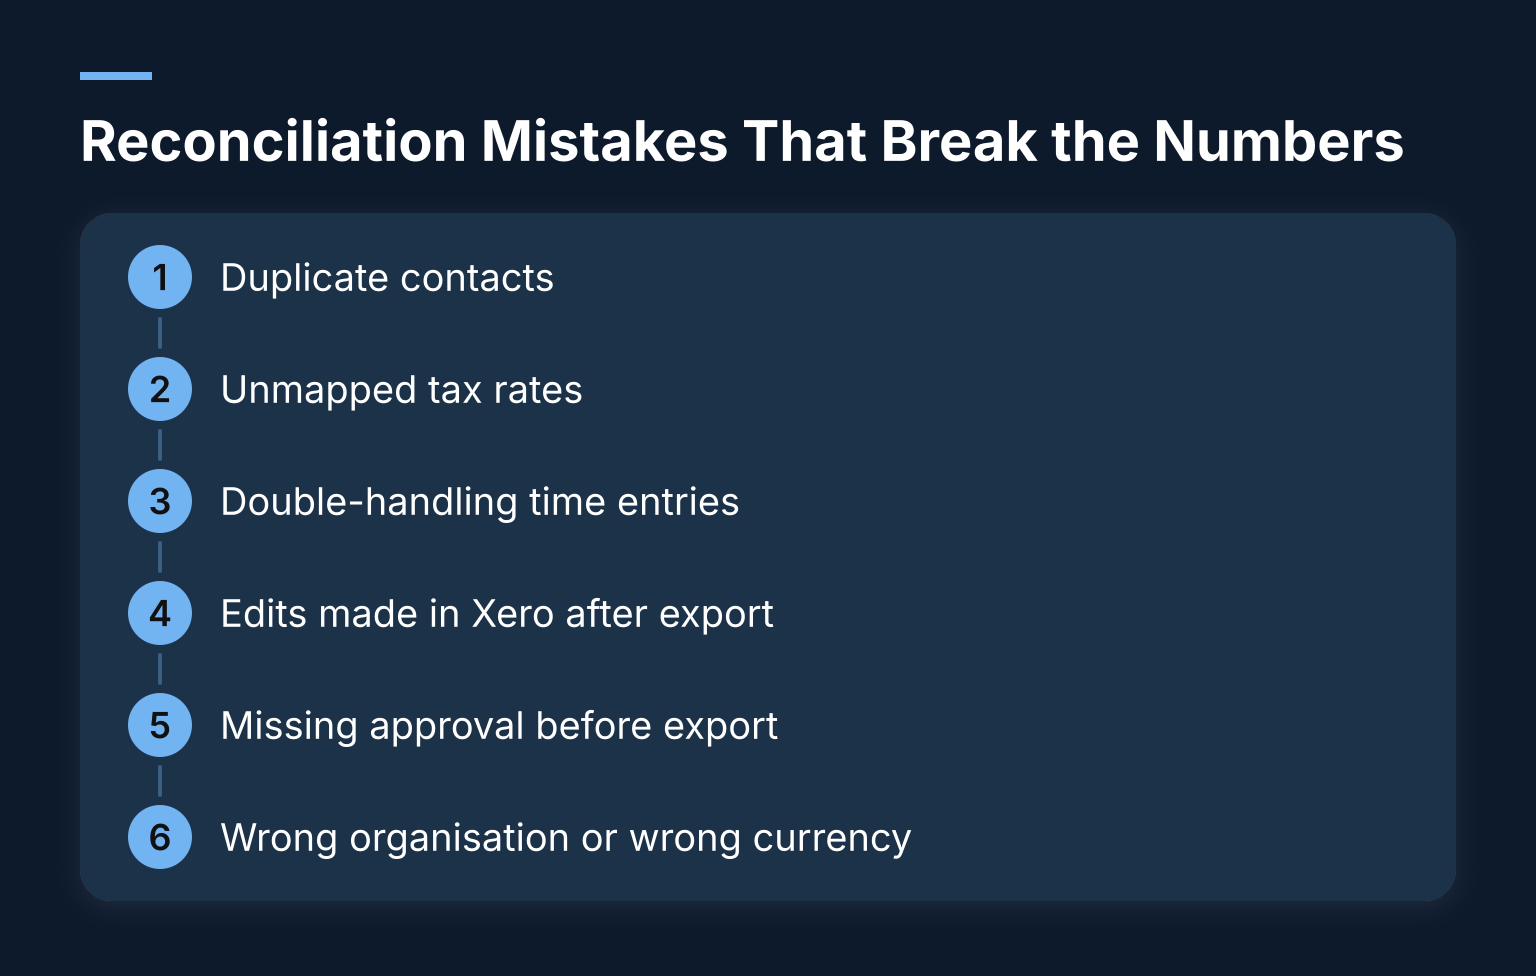
- Duplicate contacts. The tool matched ‘Smith & Co’ to one contact and staff later picked another. Invoices land on two contact records and debtor reports look half-empty. Fix by merging duplicates and restricting who can create contacts.
- Unmapped tax rates. The tool posts a line with a tax type Xero doesn’t have, so the line errors or defaults wrongly. Prevent it by only offering tax types that exist in Xero.
- Double-handling time entries. Time is entered in the project tool, then re-entered into a Xero invoice manually. Now the two systems disagree by exactly the double-counted amount. One entry point, always.
- Edits made in Xero after export. Someone changes a draft invoice’s lines, description or tracking in Xero. The project tool still shows what it originally built. Any post-export correction should be recorded in the project tool too, or your job costing drifts from the ledger.
- Missing approval before export. The integration auto-posts every draft invoice the moment it’s built, including the half-finished ones. Use an approval gate: invoices are marked approved in the project tool first, then export. Projectworks’ Xero setup guide describes approval-gated export for exactly this reason, and other vendors such as Scoro offer similar options, so if your tool has one, turn it on.
- Wrong organisation or wrong currency. Small multi-entity setups occasionally authorise the wrong Xero organisation, or default everything to GBP. Check the first few invoices and payments carefully.
Every one of these is cheaper to prevent during setup than to fix after a quarter’s worth of invoices has posted.
Testing and Go-Live
Don’t switch on the integration and let it run against live money. Prove it first.
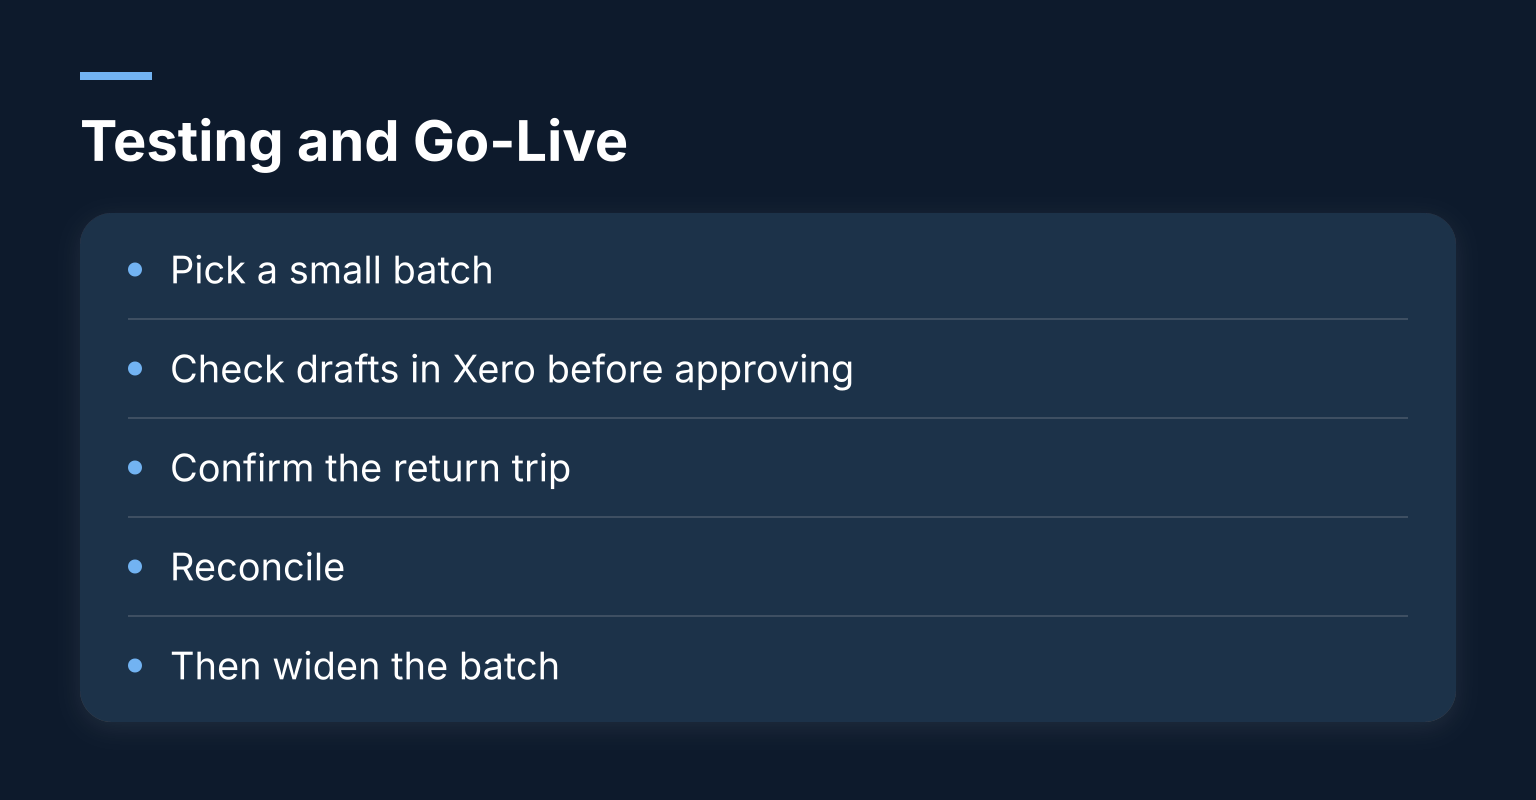
- Pick a small batch. Take one project, or the last month’s invoices, and run them through the integration while your old process continues in parallel.
- Check drafts in Xero before approving. Open each draft invoice Xero received. Verify the contact, the tracking, the tax rate, the revenue codes and the totals. Compare against what the project tool expected.
- Confirm the return trip. Pay or part-pay one test invoice and confirm the status appears in the project tool.
- Reconcile. Run a report on the tracking category in Xero and confirm the job-level numbers match the project tool’s view of the same job.
- Then widen the batch. One project, then one client, then everything. If you find a mapping error at month one, it’s a fix. At month nine, it’s a reconciliation project.
Ongoing Housekeeping
An integration isn’t a set-and-forget. A short monthly routine keeps it healthy:
- New jobs need tracking options or mappings; add them as part of job setup, not retrospectively.
- New clients should be matched to Xero contacts at creation, not at first invoice.
- New revenue accounts or tax rates must be added in Xero first, then in the project tool.
- Check the sync log or error queue periodically; most integrations fail silently for days before anyone notices.
- Refresh your reconciliation monthly: pick one job, compare the project tool’s invoiced figure with Xero’s, and investigate any gap.
Where to Get Help
If you’re choosing a project tool, our comparison guides cover the common options for built-environment practices. If the connection is proving fiddly, or the numbers still don’t agree after you’ve followed the steps above, that’s usually a mapping or process problem rather than a software one, and it’s exactly the kind of thing we fix. At Hyphen Digital we design and support Xero-connected project systems for UK built environment businesses, from tech stack design through to Xero app implementation and ongoing support. Book a discovery call to talk through your current setup, what you need the numbers to do, and what the sensible next step looks like.